
Last updated October 16, 2026
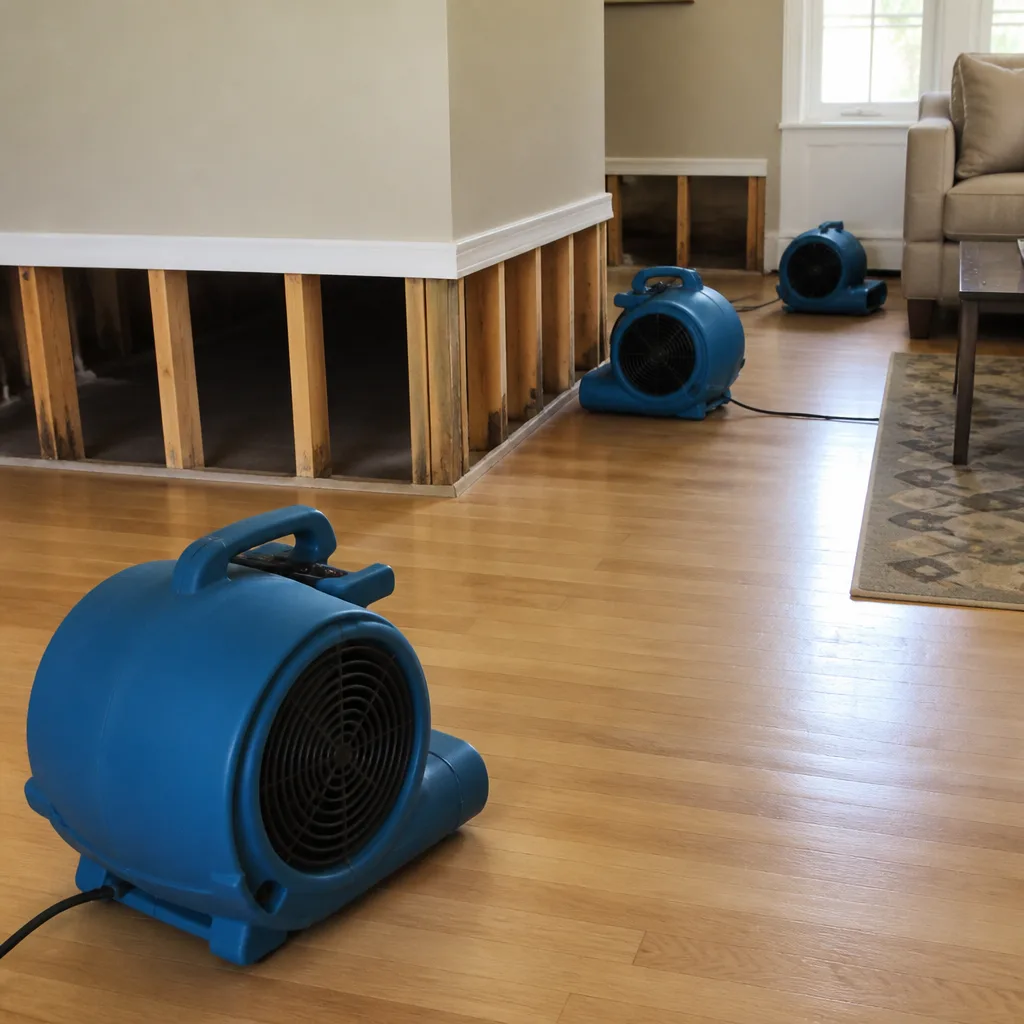 Water damage drying
 Fire & smoke cleanup
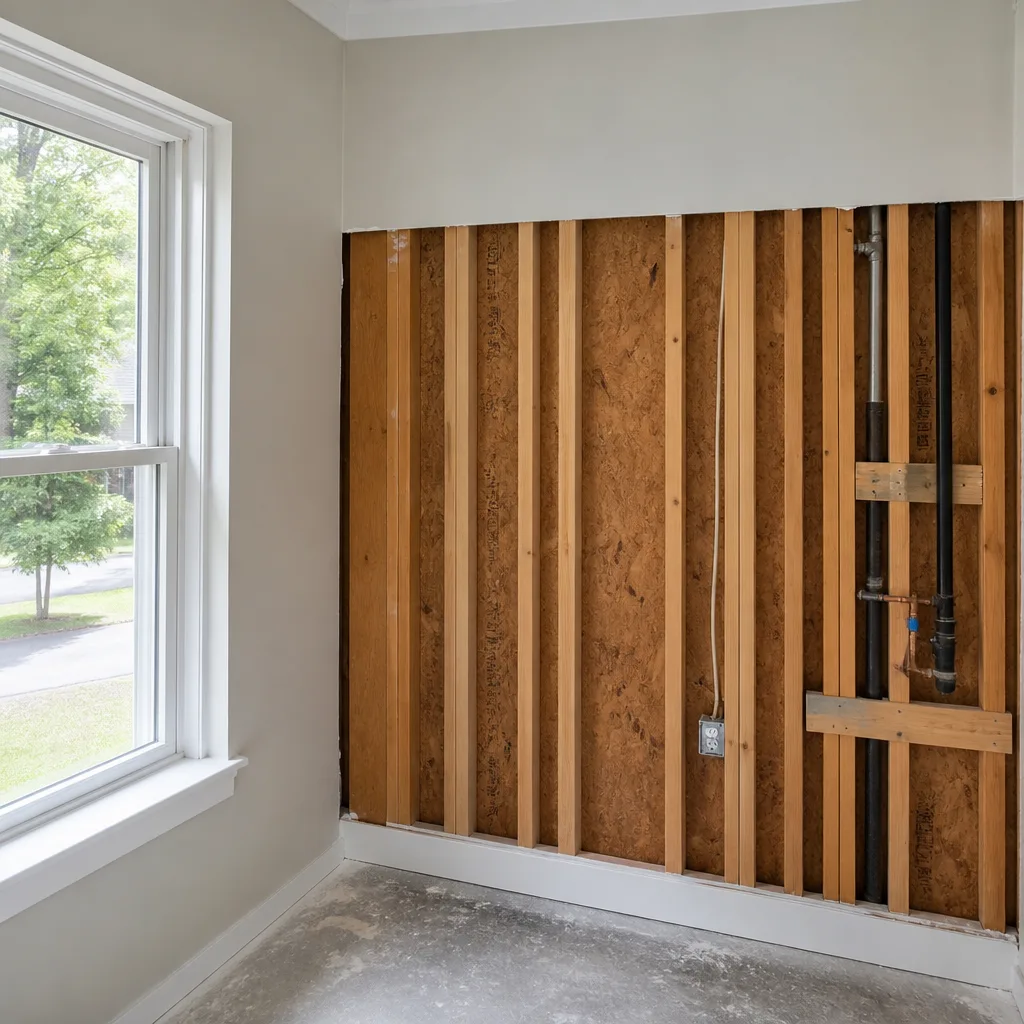 Mold remediation
 Storm response
 Sewage cleanup
 Reconstruction
Free visual inspection and a written scope of work before any mitigation begins - photos, moisture readings, and drying logs go in your claim file
The scope we write is the scope we bill. Anything new gets shown to you, in writing, before we touch it.
Get your free estimateWater Damage Restoration Maintenance Checklist for San Jose Homeowners
Most San Jose homeowners think a water damage checklist is something you use before the rainy season. That’s backward. The real value of a checklist hits after a restoration crew packs up and drives away, because that’s when you find out whether the job was actually finished or just made to look finished. We’ve walked into too many Almaden Valley homes where drywall was patched beautifully over framing that still read 22% moisture. In our experience across San Jose, the homeowners who catch these problems early are the ones who knew what to check. This guide gives you both: prevention work for before water shows up, and a verification system for after someone tells you the dry-out is done.
Quick Answer
A San Jose water damage maintenance checklist should cover two jobs: preventing water intrusion before it happens and verifying a restoration contractor’s work before you sign off. The highest-value prevention items are seasonal gutter and downspout checks, drainage slope testing, annual appliance supply-line replacement, and an aging galvanized pipe inspection if you live in Willow Glen or Almaden. The highest-value post-restoration items are material-specific final moisture readings, photo documentation of every affected area, and a written scope that matches the final invoice.
Restoration work we handle
Table of Contents
- San Jose’s Specific Water Damage Risk Profile
- Room-by-Room Maintenance Checklist
- How to Test Drainage Slope and Downspout Discharge
- Annual Appliance Audit: The Three Biggest Failure Points
- Post-Restoration Sign-Off: 7 Things to Verify Before the Contractor Leaves
- Photographing Your Baseline: Evidence Before You Need It
- Seasonal Maintenance Calendar for San Jose Homes
- Common Mistakes to Avoid
San Jose’s Specific Water Damage Risk Profile
San Jose is not a uniform water damage market. The risk in a 1950s Willow Glen ranch on a slab foundation is completely different from the risk in a hillside home off Quimby Road or a newer build in North San Jose. Understanding which risk applies to your house determines which checklist items deserve your attention first.
The three patterns we see most often across San Jose:
- Slab foundation leaks. Homes built on concrete slabs, common throughout Willow Glen, Cambrian, and parts of West San Jose, hide supply-line leaks under the slab until water pushes up through the flooring. By the time you see a wet spot on the carpet or a cupping laminate plank, the leak has usually been running for weeks. Our Water Damage Repair in San Jose work frequently starts with a leak that was never visible at the source.
- Hillside drainage pressure. Homes in the East Foothills, Almaden, and Silver Creek face a different problem: gravity. When the rainy season hits, runoff from higher elevations channels toward foundations. A downspout that discharges three feet from the house on flat ground is fine. On a slope, three feet puts water right back around the foundation within hours.
- Aging galvanized supply lines. Willow Glen and Almaden have a lot of homes built between 1950 and 1975, and many still have original galvanized steel pipes. Galvanized corrodes from the inside, narrowing the pipe diameter while the exterior looks intact. Failure is sudden, not gradual. A pinhole can become a full-bore split in days.
If you’re not sure which category your home falls into, start with the foundation type and the age of the original plumbing. Those two facts tell you more about your water damage risk than any seasonal weather forecast. For homes with any of these risk factors, a repair is not a matter of if but when, and the difference between a $2,000 repair and a $20,000 repair is often how quickly the leak is caught. Our Water Damage Restoration in San Jose page walks through what a full restoration looks like when a leak has had time to do damage.
Room-by-Room Maintenance Checklist
We’ll start with the prevention side. These are the items you can check yourself in under an hour. None of them require special tools beyond a flashlight, a screwdriver, and a phone camera.
Kitchen
- Dishwasher supply line. Inspect the braided stainless steel line behind the toe kick. Look for bulges, kinks, or green corrosion at the fittings. These lines fail at the connection point more often than anywhere else.
- Refrigerator ice maker line. If it’s a plastic or copper line, replace it with braided stainless steel now. Plastic lines crack with age. Copper lines work-harden from vibration and snap at the saddle valve.
- Under-sink cabinet. Run your hand along every shutoff valve and supply fitting. Wetness, green corrosion, or mineral buildup means a slow seep is already happening.
- Garbage disposal and drain connections. Look for water stains on the cabinet floor and run the disposal once while checking for spray at the gasket.
Bathrooms
- Toilet supply valve and tank. Check the floor bolts for rust and rock the toilet gently. A toilet that moves has a failing wax ring, and a failing wax ring leaks sewage water under the floor, not visible water.
- Shower pan and grout. Run the shower for 20 seconds, then inspect the ceiling below it if accessible. Grout is not waterproof. Caulk is not waterproof. Only the pan membrane below the tile is waterproof, and when it fails, you may not see damage until the subfloor framing is compromised.
- Bathtub overflow drain. Fill the tub past the overflow and watch for leaks around the gasket. This one is rarely checked and often leaks.
- Ventilation. Run the exhaust fan and confirm it actually draws air, not just makes noise. San Jose’s mild climate means many homeowners skip ventilation, but a bathroom that stays wet for hours after a shower feeds mold growth behind walls.
Laundry Room
- Washing machine hoses. If they are more than five years old, swap them for braided stainless steel. Rubber hoses burst catastrophically, and a burst washing machine hose is one of the most common preventable water loss events we see in San Jose.
- Drain pan. If your washer sits in a drain pan, check that the pan is not cracked and the drain line is clear. If your washer does not sit in a drain pan, consider adding one, especially if the laundry is upstairs.
- Lint and drain lines. Check the washer drain hose and wall drain connection for slow seepage after a cycle.
Basement and Garage
- Water heater. Inspect the T&P (temperature and pressure) valve, the tank base, and all nearby connections. A T&P valve that drips even occasionally is a pressure problem. A water heater that sits directly on a concrete floor in a lower level of a San Jose split-level is the single highest-volume indoor water source in the house.
- Sump pump. If you have one, test it by pouring water into the basin until the float triggers. Do this before every rainy season. Replace the pump if the float sticks or the motor hesitates.
- Slab cracks. Walk the perimeter of your garage slab and the exposed edges of any slab foundation. Hairline cracks are normal. Cracks wider than 1/8 inch that change with the seasons deserve a foundation specialist’s attention.
Exterior
- Roof penetrations. Check flashing around chimneys, vents, and skylights. San Jose’s hot, dry summers cause flashing sealant to crack and shrink. Water gets in through the roof, travels along the framing, and shows up on a ceiling far from the entry point.
- Window wells and exterior caulking. Walk the house and look for caulking that has pulled away from window frames, door thresholds, or siding joints. Recaulk before the rainy season, not after.
- Irrigation valves and drip lines. Check the backflow preventer and all visible PVC connections for leaks. Irrigation leaks are slow, but they run for months before you notice a wet spot in the yard.
How to Test Drainage Slope and Downspout Discharge
The single most important exterior maintenance item in San Jose is grading and drainage. Our soil shifts between the dry season and the rainy season, which means a slope that looked fine in September may not be fine after the first real rain in November. Here’s how to test it, with specific numbers instead of vague advice.
Test 1: Downspout discharge distance. Walk around the house during moderate rain, not heavy rain. Watch where water exits each downspout. The water should discharge at least six feet from the nearest foundation wall on flat ground. On a sloped lot, six feet is not enough. You need ten feet minimum, or a downspout extension that routes water to a swale or drainage channel.
Test 2: Slope measurement. The ground within 10 feet of your foundation should slope downward, away from the house, at a minimum of 6 inches of drop over that 10 feet. Use a 10-foot straightedge and a level to check this. Put the straightedge on the ground perpendicular to the foundation, level it, and measure the gap at the far end. If the gap is less than 6 inches, water pools against the foundation.
Test 3: The hose test. Put a garden hose at the foundation on the uphill side of your house and run it at half pressure for 10 minutes. Watch where the water goes. If it flows back toward the foundation or pools anywhere within 5 feet, fix the grade or add a French drain before the rainy season.
Test 4: Catch basin and area drain function. If your property has catch basins or drains in the yard, check them before the rain. Pull the grate and remove leaves, dirt, and debris. Shine a flashlight into the pipe and check for obvious blockage. Fill a 5-gallon bucket with water and pour it into the basin. It should drain away within 30 seconds. Slow drainage means the pipe is partially blocked or the system was never sloped correctly.
In our restoration work across San Jose, we see more post-rain water intrusion from failed drainage than from any other single exterior cause. The fix is often a few hundred dollars of regrading or a downspout extension. The cost of ignoring it is a foundation leak, and that’s a different conversation entirely.
Annual Appliance Audit: The Three Biggest Failure Points
Every San Jose home has appliances that hold or move water. Three of them fail more often than everything else combined, and all three failures are preventable with an annual check.
1. Dishwasher supply line. The braided stainless steel line on a modern dishwasher should last 10 to 15 years, but the rubber gasket inside the fitting does not. Gaskets dry, shrink, and crack from the heat of the dishwasher motor. Replace the supply line every 7 years even if it looks perfect. A line costs $15 to $30. The water damage from a burst line is often $3,000 to $8,000 in San Jose depending on how long it ran before you found it.
2. Refrigerator ice maker line. Most San Jose homes have the original plastic or copper line from the original install. Plastic lines are rated for 10 years but often crack at fittings within 5. Copper lines look sturdy and then snap clean from metal fatigue. If your line is not braided stainless steel, replace it this weekend. If your fridge is more than 10 years old, check the saddle valve too. Saddle valves fail even when the line holds.
3. Water heater T&P valve. The temperature and pressure relief valve on your water heater is a safety device, not an optional accessory. It opens automatically if the tank pressure or temperature exceeds a safe threshold. When it fails, two things can happen: it can fail closed, which is a safety hazard, or it can fail open, which leaks continuously. Test it annually by lifting the lever halfway and letting it snap shut. If it does not reseat fully, replace it. If water drips from the discharge pipe after testing, replace it. If the valve is older than 5 years, replace it preemptively. The valve costs $15. The replacement visit costs $150 to $250. The flood from a failed tank costs between $10,000 and $30,000 in San Jose depending on whether the water reached finished living space.
We’ve been doing restoration in San Jose since 2009, and the appliance failures we see follow a season pattern: dishwasher lines fail most in winter when hot water runs through cold fittings, ice maker lines fail most in summer when refrigerator duty cycles peak, and water heaters fail most in January when San Jose gets its coldest supply-water temperatures. Check all three in one pass every year, ideally in October before the temperature shifts.
Post-Restoration Sign-Off: 7 Things to Verify Before the Contractor Leaves
This is the section most restoration companies don’t want you to read. The job is only done if all seven items check out. If a contractor pushes back on any of them, that’s your signal to push back harder.
1. Final moisture readings by material type. A single “the wall is dry” number is meaningless. Wood, drywall, concrete, and tile all have different acceptable moisture levels. Ask for readings on each material that was affected, and ask what the target number was and how it compares to an unaffected area of the same material. On our restoration jobs, we document these readings in writing and share them with the homeowner.
2. Drying equipment runtime logs. Professional drying equipment from brands like Dri-Eaz and Injectidry logs runtime, temperature, and humidity. Ask to see that the equipment ran continuously and that the logs match the days you were billed for. If the logs are missing, ask why.
3. Affected vs. replaced material map. You should know exactly which drywall was cut, which insulation was removed, which flooring was pulled, and which studs were treated with antimicrobials. Ask for a marked floor plan or a written room-by-room log. If the contractor can’t produce one, they did not document the job to IICRC standard.
4. Antimicrobial treatment record. If any material got wet and stayed wet for more than 48 hours, it needs antimicrobial treatment under IICRC protocol. Ask what product was used, where it was applied, and when. If you see “antimicrobial treatment” on the invoice with no product name or date, ask for the specific record.
5. Proof that the affected area matches the written scope. Your written scope was the agreement before work started. Walk the site with the scope in hand. Everything on that scope should be visibly done. If something is on the scope but not visible, ask for photo documentation. We text before-and-after photos to every homeowner on our jobs, so this verification is automatic.
6. Final invoice matching the written price. The invoice should match the price in writing from the start of the job. If there are change orders, there should be a written change order signed by you for each one. No exceptions. A surprise line item at the end is not standard practice, and it’s not acceptable practice either.
7. A written guarantee on the repair. You should receive a written warranty or guarantee covering the work performed. At Wendell Restoration San Jose, every repair includes a 365-Day Done Right Promise in writing: if it’s not done right, we make it right. If your contractor will not put a guarantee in writing, that’s the single biggest red flag on this list.
Photographing Your Baseline: Evidence Before You Need It
The best time to photograph your home for a water damage claim is before any water appears. After a loss, you’ll be photographing damage. What you need is a baseline: what your home looked like when it was undamaged.
Here’s the system we recommend to San Jose homeowners:
Step 1: Room-by-room wide shots. Stand in the doorway and shoot each wall floor-to-ceiling. Then a shot of the ceiling, then the floor. Four to six shots per room. Do this for every finished room in the house.
Step 2: Detail shots of high-risk areas. Under every sink, behind the toilet, behind the washer and dryer, the water heater closet, the HVAC drip pan, the garage ceiling. These are the areas where slow leaks start, and the baseline photo shows their pre-loss condition.
Step 3: Exterior shots. All four sides of the house, roof slopes from ground level, gutter and downspout positions, the foundation line, and any visible plumbing penetrations. Water intrusion claims often hinge on whether a leak came from inside or outside, and these exterior shots are direct evidence.
Step 4: Serial numbers. Photograph the data plates on your water heater, dishwasher, fridge, and washing machine. These show age and model, which matters for cause-and-age disputes in insurance claims.
Step 5: Store the photos twice. Cloud storage plus a local drive. Do not delete old photos when you take new ones. Time-stamped, location-tagged photo history is the strongest evidence in a water damage dispute.
When you do have a water event, this baseline makes the restoration process faster and the insurance process cleaner. Our team works with homeowners through Mold Remediation in San Jose and water restoration projects, and the homes with baseline documentation consistently get faster claim approvals and fewer disputes over scope.
Seasonal Maintenance Calendar for San Jose Homes
You don’t need a complex system. You need the right tasks in the right months, and a few hours per year of actual work.
October: Pre-Rain Prep
- Clean and test all gutters and downspouts.
- Check drainage slope with the straightedge test described above.
- Inspect roof penetrations and window caulking.
- Test the sump pump if you have one.
- Replace washing machine and dishwasher supply hoses if they are older than five years.
December: First-Rain Check
- During the first significant rain, walk the perimeter and watch every downspout discharge.
- Check the garage floor and the lowest point of the property for ponding.
- Inspect the attic ceiling for any new water stains at the roofline.
April: Post-Rain Assessment
- Look for any new foundation cracks or shifting in exterior caulking.
- Check under sinks and around toilets for moisture after the wet season.
- Inspect exterior walls for efflorescence, which is a white mineral deposit that signals water moving through masonry or stucco.
July: Dry-Heat Check
- Inspect all appliance supply lines for heat-related cracking or bulging.
- Test the water heater T&P valve.
- Check irrigation lines for leaks that may have developed over the spring.
This calendar is spaced the way San Jose’s climate actually works, not the generic “spring and fall maintenance” advice written for houses in Ohio-see more guides & resources for other climates. Our dry season and rainy season create different failure modes, and the checklist above targets the ones we actually see in the field.
Common Mistakes to Avoid
- Checking only the visible pipe. The joints, gaskets, and valves fail long before the pipe itself. A visual check of the pipe body tells you almost nothing. Touch the fittings. Look for mineral deposits and corrosion.
- Caulking over missing grout. Grout failure in a shower is a symptom, not the cause. Caulking over it traps water behind the wall and accelerates the damage. The pan membrane is the waterproof layer, and when grout fails, the membrane is already suspect.
- Ignoring a slow drain. Slow drainage means a partial blockage or an incorrectly sloped line. Neither fixes itself. Both get worse with time and eventually back up into the house.
- Skipping the annual T&P valve test. This is a $15 part that protects a $2,000 appliance from a $30,000 failure. Testing takes 30 seconds.
- Accepting a verbal “it’s dry” from a restoration tech. Dry is a number on a moisture meter, not a feeling. If no one can produce the number, the job is not documented to IICRC standard.
- Letting a contractor start work without a written price. In San Jose, a homeowner should never allow water damage restoration work to begin on a verbal estimate. The price needs to be in writing before any tools touch the property. At Wendell, it always is.
See the difference
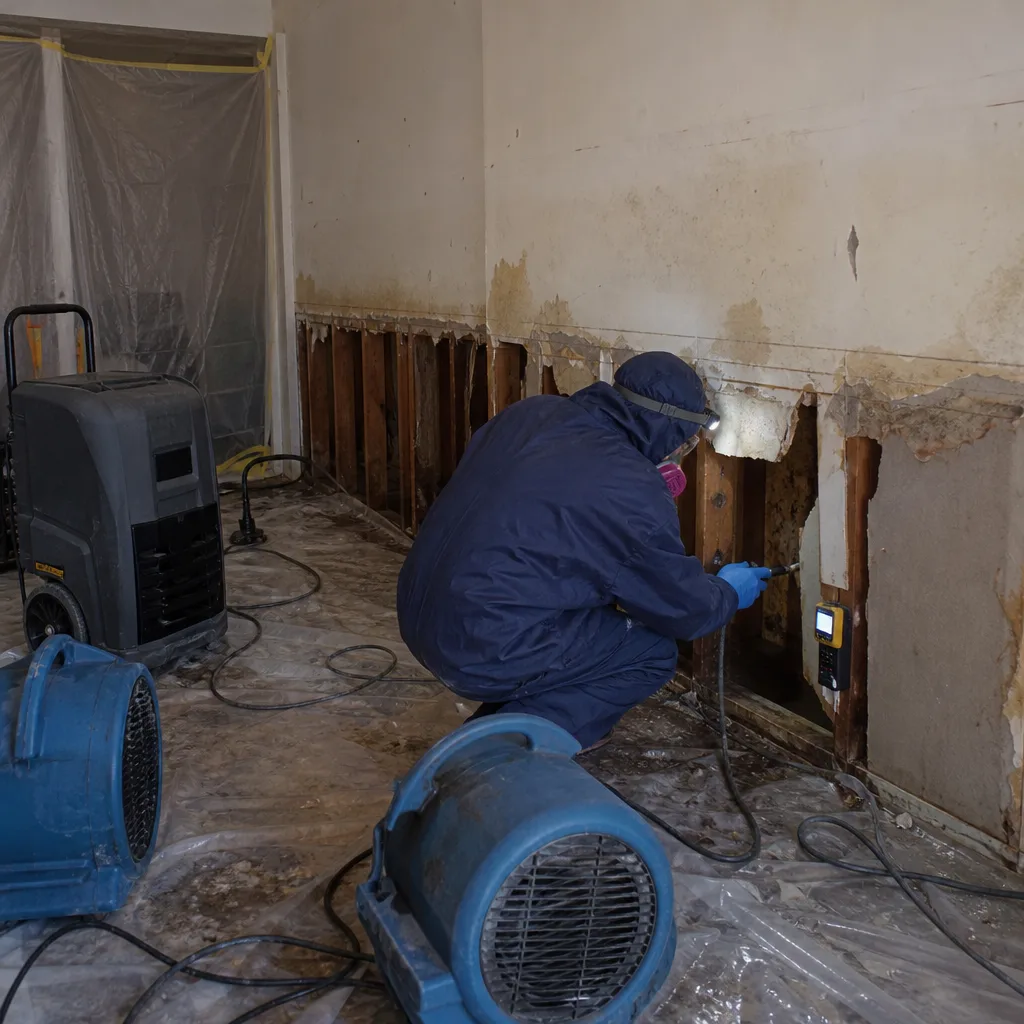 Before
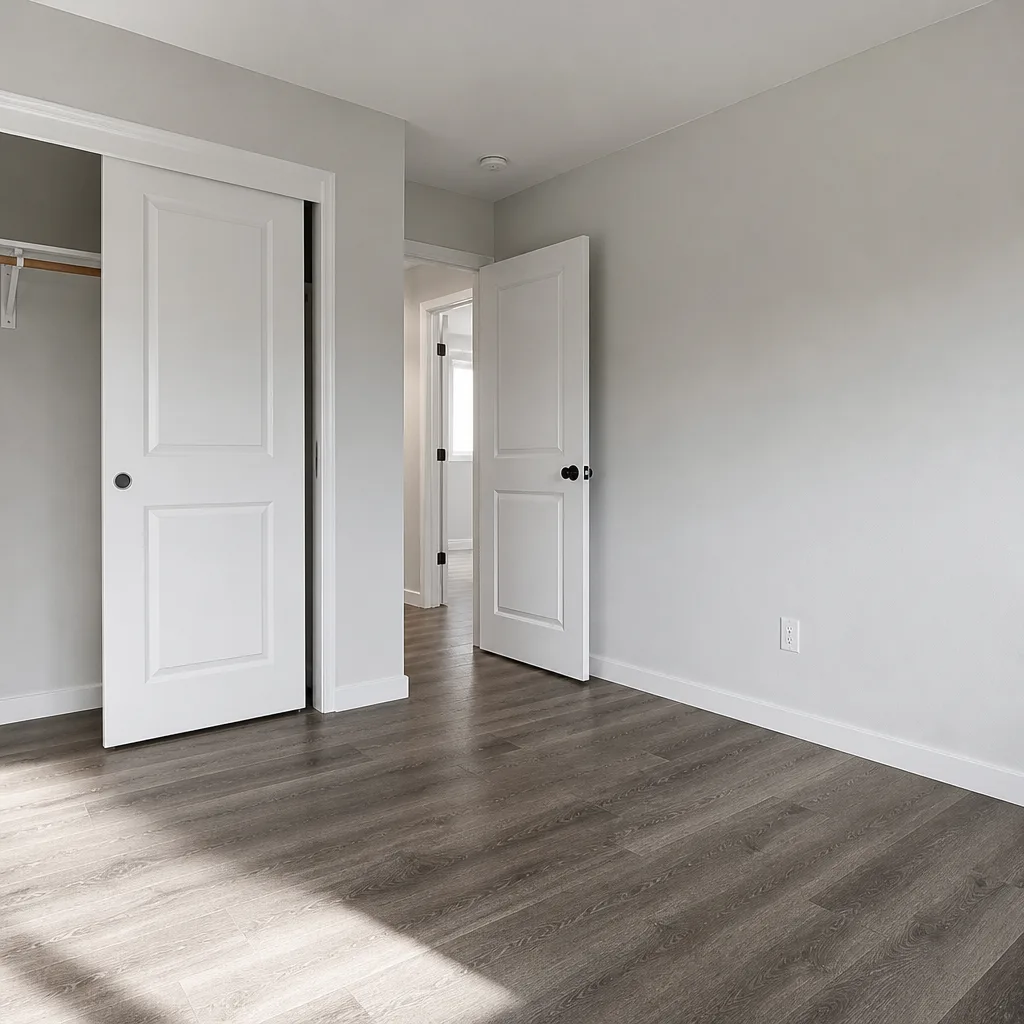 After
After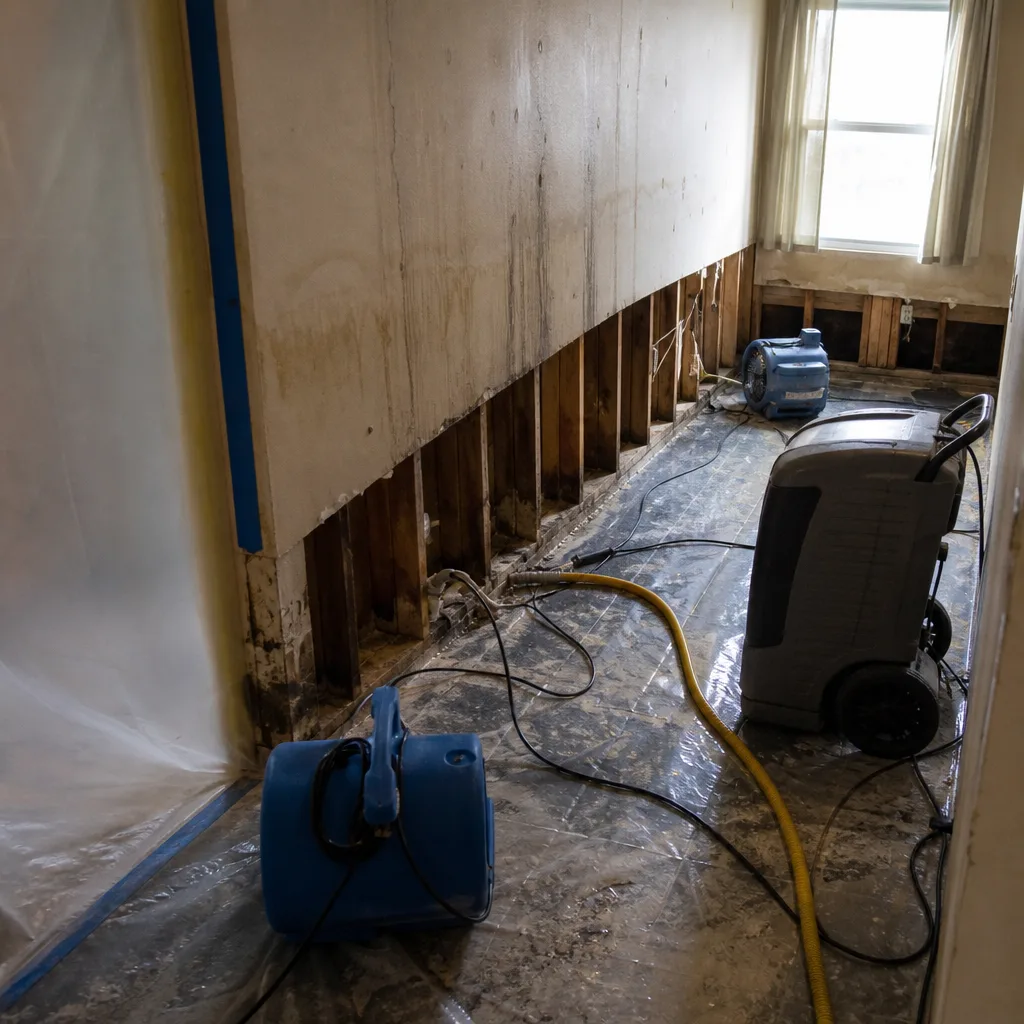 Before
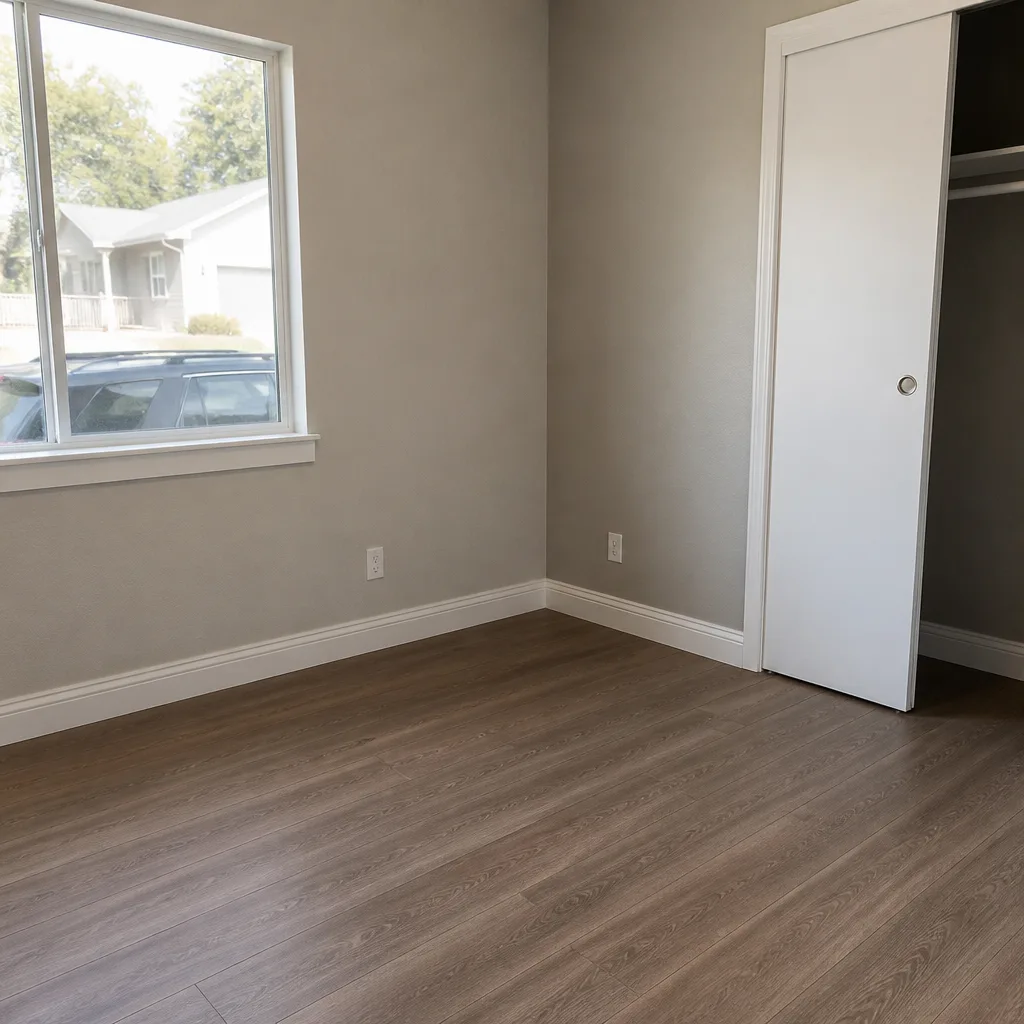 After
After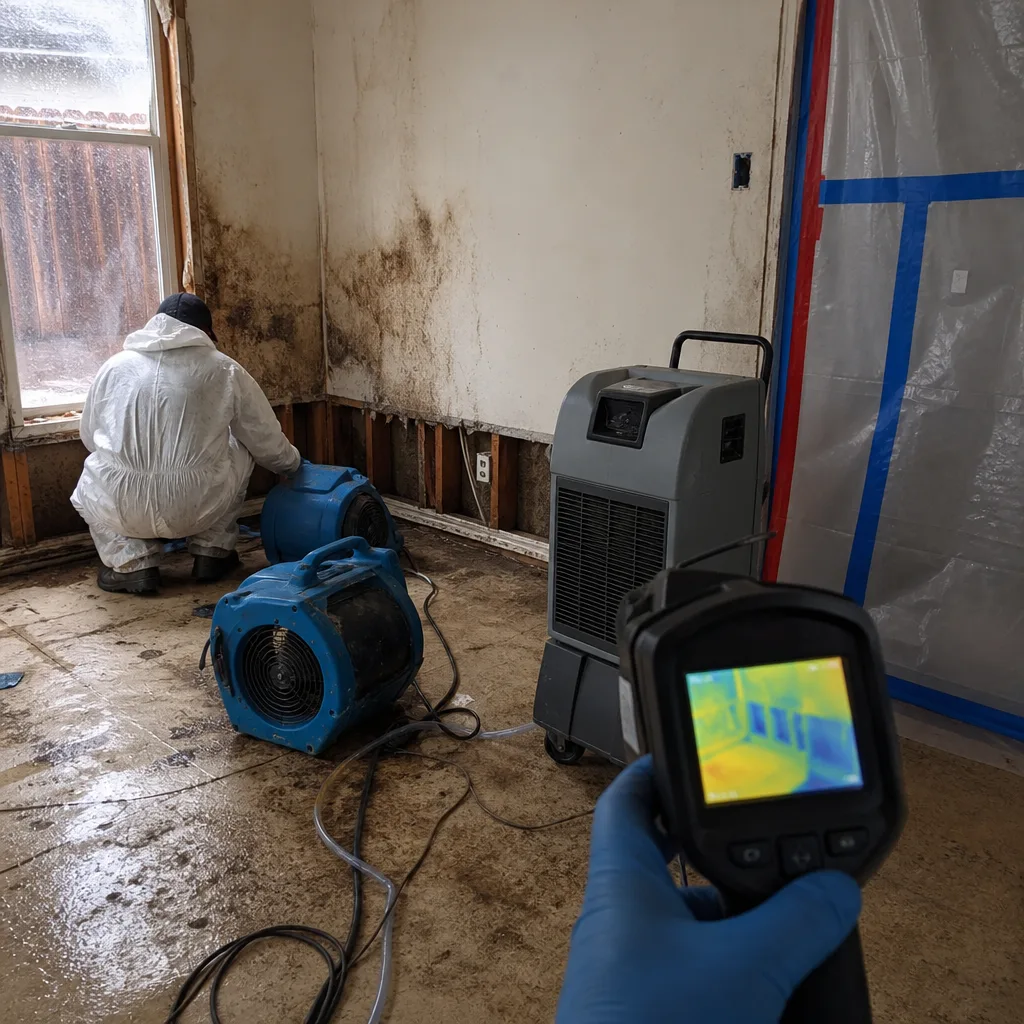 Before
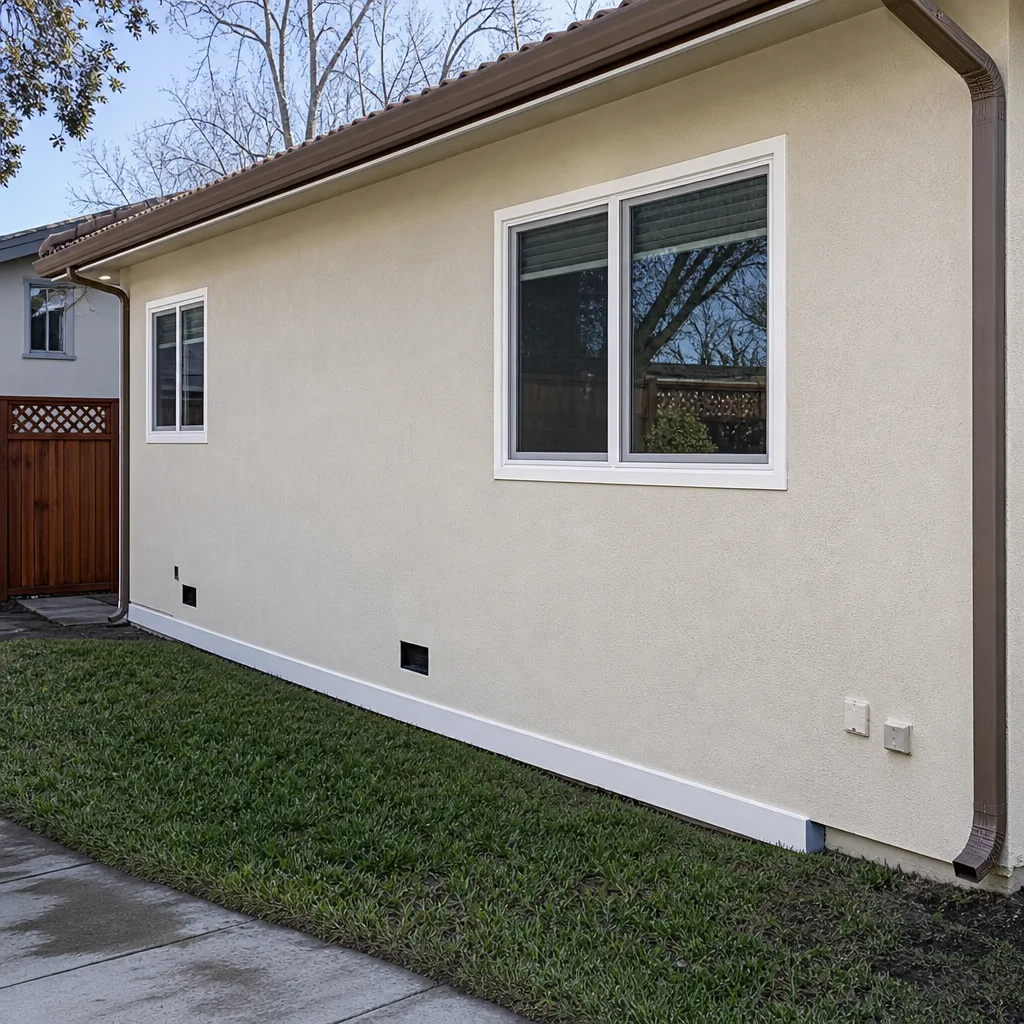 After
AfterWhen to Call a Professional
Some things on this list you can handle with a screwdriver and a trip to the hardware store. Others need a trained tech with professional equipment and the right certifications. Call a professional when the water source is inside a wall or under a slab, when you see water on more than one floor of the house, when a pipe has burst and you can’t shut off the valve, or when you see visible mold growth on any porous surface. Water that has been sitting for more than 48 hours needs professional drying with proper equipment and protocol, not a fan from Costco. Wendell Restoration San Jose offers free estimates in San Jose, and our technicians work under IICRC, RIA, and IFA standards using professional-grade drying equipment. Call (669) 200-0453 and a live person will answer, 24/7.
Frequently Asked Questions
Replace washing machine and dishwasher supply lines every five years regardless of appearance, using braided stainless steel. San Jose’s hard water accelerates mineral buildup at fittings, and the heat-cycling of our dry summers shortens rubber gasket life. A replacement costs $15 to $30 per line and takes ten minutes.
A moisture reading below 16% on a wood moisture meter is generally considered dry for framing lumber, and drywall should read within 1 to 2 percentage points of an unaffected area of the same material in the same room. Readings above 20% indicate active drying is still needed. If your contractor cannot produce material-specific final readings, the job is not documented to IICRC standard.
In San Jose, a small isolated water loss with prompt response typically runs $2,500 to $6,000 for extraction, drying, and minor repairs. A full room restoration with flooring removal, drywall replacement, and antimicrobial treatment runs between $6,000 and $18,000 per affected room. A whole-home loss involving slab leaks or full flooring replacement often exceeds $25,000. These are ranges for initial planning; the actual number depends on the source, the affected materials, and how long the water sat before response. For detailed pricing, see our Damage Restoration Cost Breakdown: The San Jose Homeowner’s Reference for 2026. Call (669) 200-0453 for an exact quote, always in writing before any work starts.
Homeowners insurance typically covers sudden and accidental water damage, such as a burst pipe or appliance failure, but not gradual leaks or maintenance neglect. If the insurance adjuster determines the leak ran unreported for weeks, the claim may be denied. Photo documentation of your baseline condition and prompt reporting after a loss are the two strongest factors in your favor. We work directly with insurance adjusters and provide photo-documented assessments for every job.
Wendell Restoration San Jose answers every call live, 24/7, and can typically have a technician on site the same day for active water intrusion. The arrival time is given as a live, trackable ETA, not a four-hour window. For non-emergency inspections and post-restoration checks, next-day scheduling is usually available. Call (669) 200-0453.
Ask for final moisture readings by material type, Dri-Eaz or equivalent equipment runtime logs, a written map of affected versus replaced materials, and a written guarantee on the repair. Any contractor following IICRC protocol will have all of these available without hesitation. A contractor who pauses or pushes back on any of these items has not finished the job to standard.
The Bottom Line
A water damage maintenance checklist for San Jose homeowners is not a one-time event. It’s a system with two halves: prevention before water appears, and verification after a restoration crew finishes. The prevention half is about knowing your home’s specific risk profile, whether that’s a slab foundation, hillside drainage, or aging galvanized supply lines, and checking the right failure points on schedule. The verification half is about demanding documentation, not just a visual once-over. Material-specific moisture readings, a written scope that matches the invoice, and a written guarantee are the three sign-offs that separate a finished restoration from a hidden problem. If you’d rather have a professional walk your property with a trained eye, Wendell Restoration San Jose provides written estimates at no charge. Call (669) 200-0453 and get a live person on the line.
Written by Blake Sorensen, Owner at Wendell Restoration San Jose, serving San Jose since 2006.