
Last updated October 16, 2026
 Water damage drying
 Fire & smoke cleanup
 Mold remediation
 Storm response
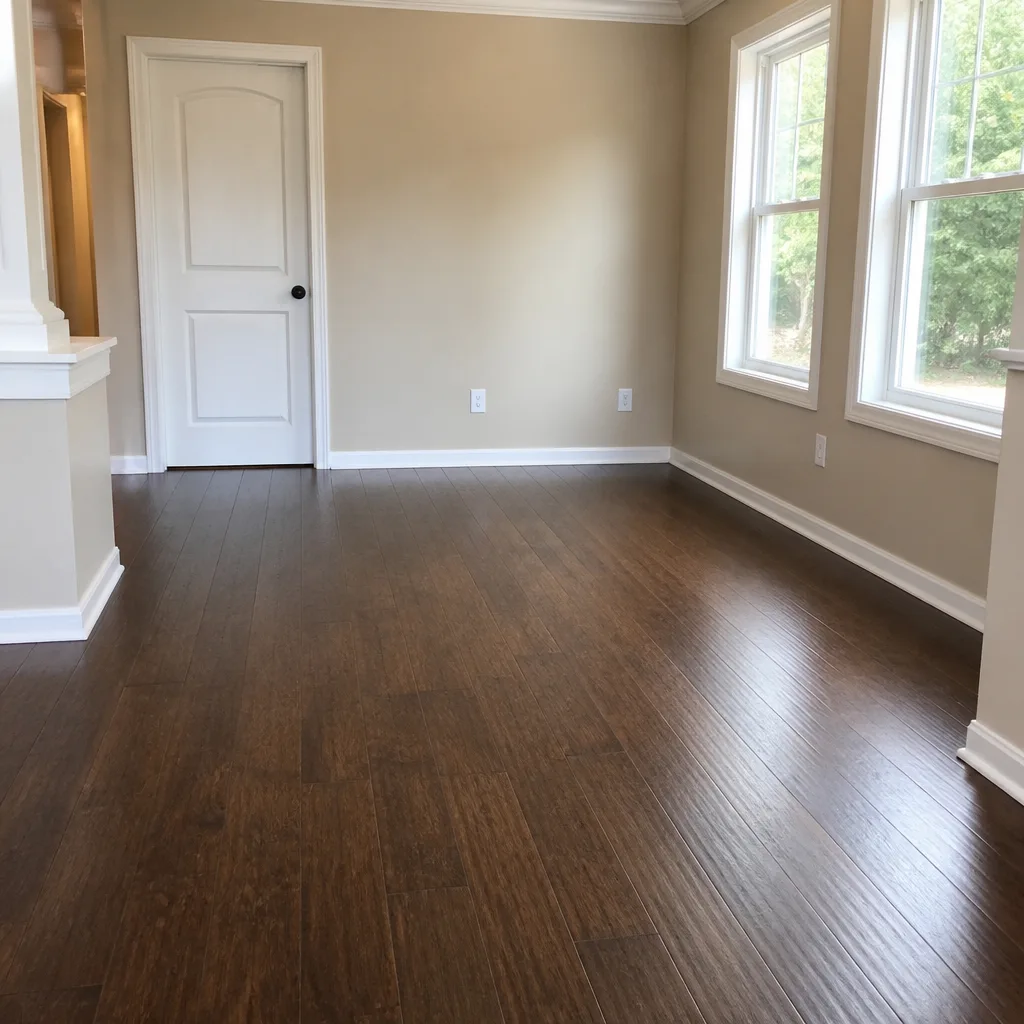 Sewage cleanup
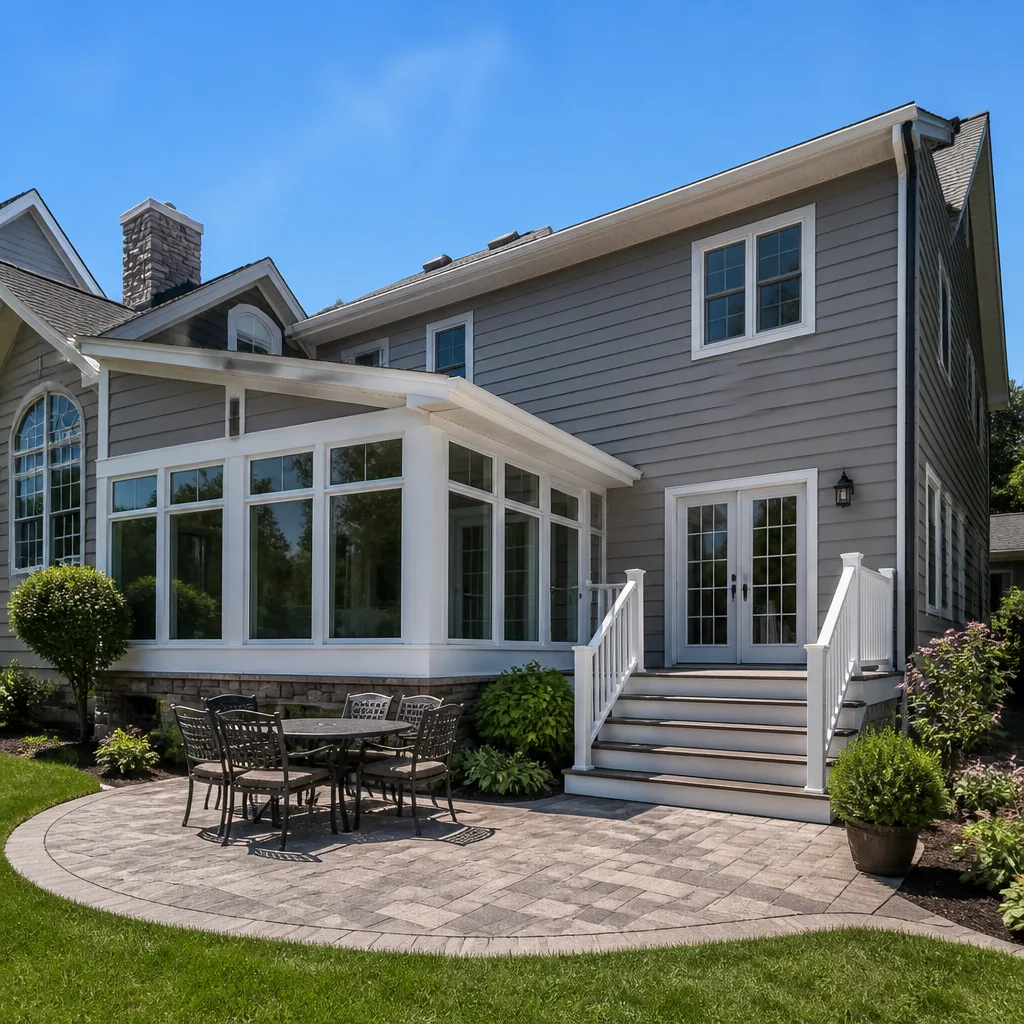 Reconstruction
Free visual inspection and a written scope of work before any mitigation begins - photos, moisture readings, and drying logs go in your claim file
The scope we write is the scope we bill. Anything new gets shown to you, in writing, before we touch it.
Get your free estimateDIY vs Professional Damage Restoration: The San Jose Homeowner’s Decision Guide
The average San Jose homeowner who attempts a DIY water damage cleanup spends $1,400 more than the professional quote by month eighteen. That number doesn’t come from a national study. It comes from what we see when homeowners call us after the fact: the dehumidifier rental they ran for three weeks, the baseboards they replaced twice, the mold bloom behind the drywall they never saw until their real estate agent flagged it during a pre-listing inspection. This guide maps the DIY-versus-professional decision to actual risk: legal liability, insurance claim validity, and the hidden cost of incomplete drying. For related guidance, see our How to Hire a Damage Restoration Contractor in San Jose: A Step-by-Step Guide. You’ll learn exactly where DIY is defensible, where it’s a genuine liability, and how to protect yourself either way.
Quick Answer
DIY damage restoration in San Jose is defensible only in four narrow scenarios: a small affected area under roughly 10 square feet, Category 1 water (clean supply-line water, not sewage or storm runoff), no structural or porous materials saturated, and complete drying achieved within 48 hours. Everything beyond those boundaries carries insurance claim risk, health risk, or both. A professional restoration in San Jose typically costs $2,000 to $5,000 for a moderate water event, while a botched DIY that requires mold remediation six months later can run $8,000 to $15,000.
Restoration work we handle
Table of Contents
- The Four Scenarios Where DIY Is Genuinely Defensible
- Why Rental Equipment Produces Inferior Results: Grain-Per-Pound Numbers That Matter
- Insurance Claim Implications of DIY Mitigation in California
- The Real Cost Comparison: Equipment, Disposal, and the Probability-Weighted Callback
- IICRC S500 Documentation Standards: How to Protect Yourself Even If You DIY
- San Jose-Specific Risk Factors: Climate, Construction, and Code
- Common Mistakes to Avoid
- When to Call a Professional
The Four Scenarios Where DIY Is Genuinely Defensible
We’re not here to tell you DIY is always wrong. That would be dishonest, and it’s not true. There are four specific conditions under which a homeowner can reasonably handle water cleanup themselves. The key is knowing the exact boundaries of each condition, because stepping one inch outside them changes the risk profile entirely.
Scenario 1: The affected area is under roughly 10 square feet
Picture a bathroom vanity supply line that leaked overnight into one corner of the room. The puddle spans maybe 6 feet by 4 feet in the worst spots. That’s the kind of scale where a wet-dry vac, a couple of box fans, and open windows can genuinely work, provided the water didn’t travel under the vanity or wick up the drywall more than a few inches. Anything larger, and you’re now managing moisture dynamics across multiple rooms, which is where homeowner drying attempts usually fail.
Scenario 2: The water is Category 1
IICRC S500 defines three water categories. Category 1 is clean water from a supply line, a faucet, or a water heater that hasn’t been sitting. Category 2 is gray water: washing machine discharge, dishwasher overflow, or water that has been standing long enough to grow bacteria. Category 3 is black water: sewage, storm surge, or any water that has contacted fecal matter or harmful pathogens. Category 1 under 48 hours is the only DIY-appropriate category. Category 2 requires antimicrobial treatment, and Category 3 requires full containment, protective equipment, and controlled demolition. In San Jose’s older ranch homes with aging galvanized supply lines, we regularly see pinhole leaks that start as Category 1 clean water. If that water sits for sixty hours before a homeowner discovers it, it has already started migrating toward Category 2. Time changes the category, and most homeowners don’t know that clock is running.
Scenario 3: No structural or porous materials are saturated
Water that stays on a tile floor with no drywall contact and no wicking into baseboards is a surface event. The moment water touches drywall, insulation, subfloor, or cabinetry, you’re dealing with materials that hold moisture below their visible surface. A surface that feels dry to the touch can hold 20% moisture content inside the material. That’s enough to support mold growth within 72 hours. If water reached the bottom plate of a wall, even for an hour, it has entered the wall cavity. That’s a professional drying situation.
Scenario 4: Complete drying is verifiably achieved within 48 hours
“Complete drying” means you can verify moisture content has returned to pre-loss levels, not that the surface feels dry. That requires a moisture meter, which costs $40 to $200 for a homeowner-grade unit. More importantly, it requires knowing what the target moisture content actually is for each material. Drywall in a San Jose home typically sits at 5% to 8% moisture content in summer and 7% to 10% in winter. If you can’t measure and confirm those numbers, you’re guessing. And guessing is where the eighteen-month mold problems come from.
Why Rental Equipment Produces Inferior Results: Grain-Per-Pound Numbers That Matter
The big-box store dehumidifier aisle looks tempting. A rental unit from Home Depot runs roughly $35 to $70 per day depending on the model. A commercial low-grain refrigerant (LGR) dehumidifier from a restoration company costs $125 to $175 per day to rent. The price difference is not markup. It’s performance difference, and the numbers are stark.
A standard consumer dehumidifier removes between 20 and 40 pints of water per day at 80°F and 60% relative humidity. That’s the spec printed on the box. What the box doesn’t tell you is that this number collapses when the air gets drier and cooler, which is exactly what happens as drying progresses. Below 50% relative humidity, a consumer unit’s water removal drops to near zero because it can’t overcome the moisture gradient in the air.
A commercial LGR unit from brands like Dri-Eaz, Phoenix, or XPOWER removes 130 to 220 pints per day at AHAM conditions. Equally important, LGR units maintain meaningful water removal down to 25% relative humidity because they use a refrigerant circuit designed specifically for deeper moisture extraction. The “low-grain” part refers to the unit’s ability to pull moisture from air that is already fairly dry, which is exactly the environment you need during the final phase of structural drying.
Here’s the practical consequence in a San Jose home. A moderate water event, say 25 gallons released across a 200-square-foot living room with drywall, will require roughly 235 pints of water removal to return the room to pre-loss humidity. That’s using rough psychrometric math: 25 gallons at 8.34 pounds per gallon is 208.5 pounds of water, plus residual moisture in the air and materials. A consumer dehumidifier removing 30 pints daily will take eight days, assuming it never plateaus, which it will. A commercial LGR removing 150 effective pints daily gets the job done in under two days. The slow drying path is precisely the path that allows mold spores to germinate.
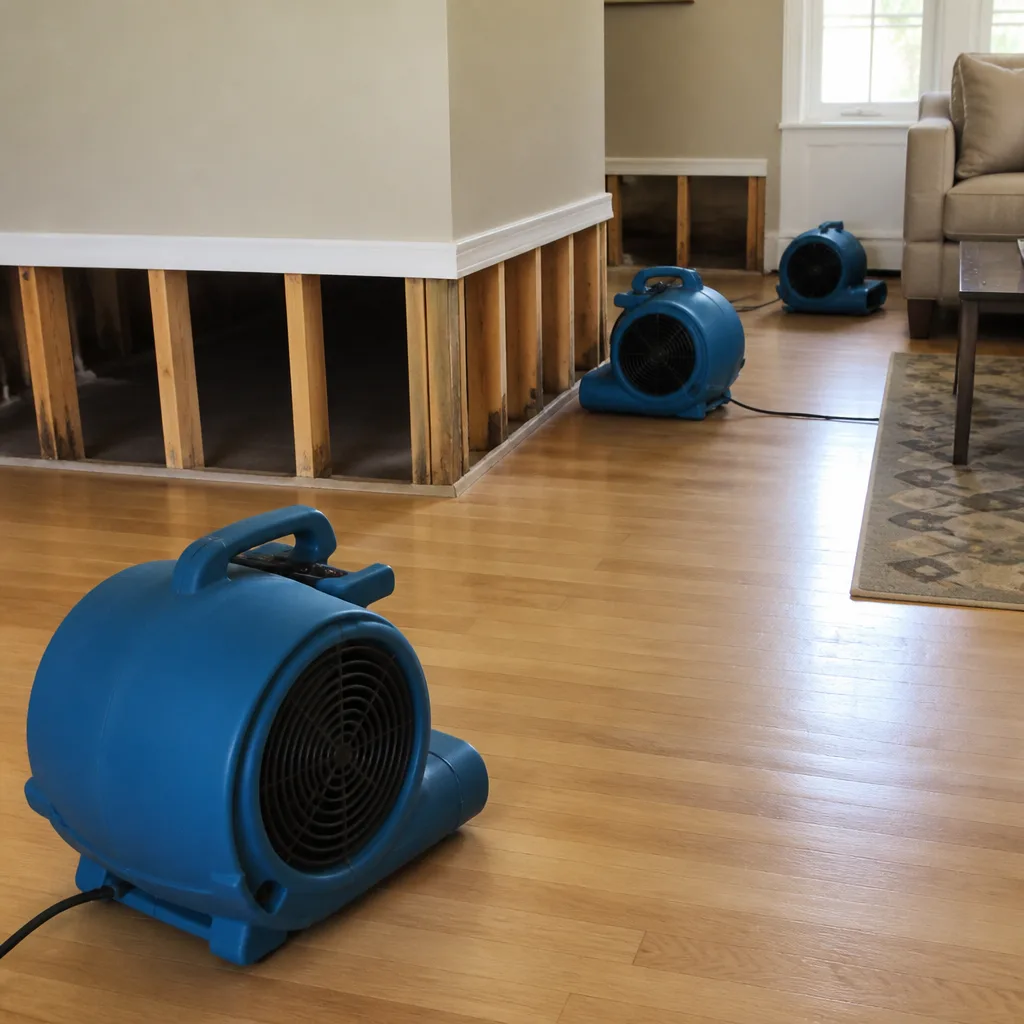
Air movers are the second half of the equation. Consumer box fans move 1,000 to 2,000 cubic feet per minute. Commercial air movers from B-Air or XPOWER move 2,500 to 4,000 CFM and focus that airflow in a tight, directed stream that creates evaporation at the surface of materials. The difference is not speed for speed’s sake. It’s the difference between surface evaporation and subsurface moisture migration pulling water from inside drywall and wood to the surface where the dehumidifier can remove it. Homeowners often run box fans for two weeks and still get mold because the surface dried while the interior of the wall stayed wet.
Insurance Claim Implications of DIY Mitigation in California
Here’s the reality most homeowners don’t learn until it’s too late: your insurance policy contains language that makes professional mitigation effectively mandatory for full mold coverage. This is not a scare tactic. It’s carrier policy language sitting in the fine print of standard California HO-3 forms and their endorsed variants.
Most California homeowner policies include a mold remediation sublimit, typically $5,000 to $10,000. That sublimit applies to mold that develops after a covered water loss. The carrier’s duty to pay that sublimit is contingent on reasonable mitigation. The specific language varies by carrier, but the operative clauses consistently require the insured to take “reasonable steps to protect the property from further damage” and to “use all reasonable means to protect and preserve the property at and after the time of loss.” Insurance adjusters routinely interpret “reasonable steps” to mean prompt professional mitigation, especially when the claim involves mold.
What does this mean in practice? Suppose you have a supply-line leak in your San Jose home. You dry it yourself with a rental dehumidifier and box fans. Three months later, mold appears behind the baseboards. You file a claim. The adjuster asks for your drying documentation. You have none. The adjuster’s report notes that no professional water damage restoration was performed, no moisture readings were taken, and the insured cannot demonstrate that the structure was dried to an industry-standard moisture content. The mold claim gets denied or reduced on the grounds that improper initial mitigation caused the secondary damage. This is not a hypothetical. It’s a pattern we’ve seen repeatedly in San Jose, and it’s the opening scenario of this guide for a reason.
The functional reality is that insurance carrier language has shifted in the last decade toward placing the mitigation burden on the insured. You pay premiums for a service you can’t fully access unless you perform the loss response correctly. That’s an unfair system, but it’s the system. The practical response is to get professional documentation from the start, even if you want to do some of the physical work yourself.
The Real Cost Comparison: Equipment, Disposal, and the Probability-Weighted Callback
The surface-level cost argument for DIY is straightforward: a week of equipment rental runs $300 to $500, demolition and disposal of soaked drywall runs $150 to $400 in dump fees, and your labor is free. A professional restoration for the same event might quote $2,500 to $4,500. On paper, you saved two grand. That math is wrong because it omits the probability-weighted cost of failure.
Here’s a breakdown for a moderate water event in a San Jose home, roughly 200 square feet of affected living space with drywall and flooring involvement:
- DIY equipment rental (consumer-grade): Dehumidifier $45/day for 10 days, two air movers $25/day each for 10 days. Total: $900. Commercial-grade rental equipment would run $1,200 to $1,500 for four days, but most homeowners don’t know they can rent commercial units.
- DIY demolition and disposal: Gloves, masks, trash bags, utility knife, pry bar: $80. Dump fees for 500 pounds of wet drywall and flooring: $150 to $250. Total: $230 to $330.
- DIY material replacement: Drywall sheets, joint compound, tape, primer, paint, trim, possibly subfloor patch. For a 200-square-foot area: $400 to $900. Now add the value of your time. Even at a conservative $25 per hour for a homeowner’s labor time, three weekends of work is 30 hours, or $750 in opportunity cost.
- Probability-weighted callback cost: This is the number DIY advocates never include. Based on our San Jose referral patterns, roughly 25% to 35% of homeowner-dried water events develop mold or moisture problems within eighteen months. A mold remediation in San Jose for a contained 50-square-foot area runs $1,800 to $4,000. A full-room remediation ranges $4,000 to $8,000. Weighted at 30% probability, the expected callback cost is $1,200 to $2,400.
- DIY total, probability-adjusted: $900 + $280 + $650 + $750 + $1,800 = approximately $4,380.
- Professional restoration total: $2,500 to $4,500 inclusive of equipment, labor, documentation, and warranty.
The math flips when you include the cost of things going wrong. And in restoration, things going wrong is the norm for first-time DIY drying, not the exception. Mold is not a random failure event. It’s a biological process that follows moisture with near certainty if the moisture persists beyond 72 hours. The question is not whether DIY works. It’s whether your specific event stays within the four defensible scenarios. Most events don’t.
IICRC S500 Documentation Standards: How to Protect Yourself Even If You DIY
If you’ve read this far and still want to manage part of the process yourself, there’s a way to do it that preserves your insurance position. The IICRC S500 is the industry standard for water damage restoration. Insurance carriers, adjusters, courts, and restoration companies recognize it as the authoritative reference for what constitutes proper drying. You don’t need to be IICRC-certified to follow its documentation practices. You just need to keep records that mirror what a professional would produce.
Here’s what a professional moisture log looks like and how to create your own:
- Initial assessment record. Document the date and time of the loss, the water source, the water category (1, 2, or 3 based on the S500 definitions), the affected materials, and the square footage of each affected area. Photograph everything before you move anything.
- Moisture readings by material and location. Use a moisture meter to take readings from affected drywall, wood framing, subfloor, and trim. Record each reading on a floor-plan sketch with the date and time. Take readings at 12-hour intervals during the drying process. The trend over time is the critical evidence.
- Drying goal documentation. Record the target moisture content for each material type. Drywood in San Jose’s climate typically rests at 6% to 10% depending on season. Your drying goal is to return each material to its pre-loss moisture content, verified by three consecutive readings with no significant change.
- Equipment log. Note what equipment you used, where each unit was placed, and the dates you ran it. Include the model number and the manufacturer’s stated water removal capacity.
- Final verification. When readings have stabilized at the target level, record a final reading set and date it. This is the document that protects you if mold later develops elsewhere in the home, because you can demonstrate that the affected area specifically was dried to standard.
Moisture meters are available at hardware stores for $40 to $200. The pin-type meters are adequate for wood and drywall. The pinless meters read below surfaces and are better for tile and flooring. If you’re taking moisture readings, use the right meter for the material. A reading from the pinless meter on a ceramic tile floor that says 15% is telling you about the mortar bed below, not the tile itself.
One more point on documentation. If you do file an insurance claim, the adjuster’s first request will be for your documentation. Homeowners who produce a moisture log, photos, and a drying record are treated differently than homeowners who say they ran a dehumidifier for a week. The documentation doesn’t just protect your claim. It changes the tone of the entire conversation.
San Jose-Specific Risk Factors: Climate, Construction, and Code
San Jose’s climate creates specific drying dynamics that generic online guides don’t address. The city sits in a Mediterranean climate zone with warm, dry summers and cool, wet winters. Summer drying is actually harder than many homeowners expect because low ambient humidity creates a strong moisture gradient that pulls water from wet materials into the air, but without enough heat to convert that moisture efficiently. Winter drying in San Jose’s cooler months is slower still, as ambient temperatures in the 50s and low 60s reduce evaporation rates across the board.
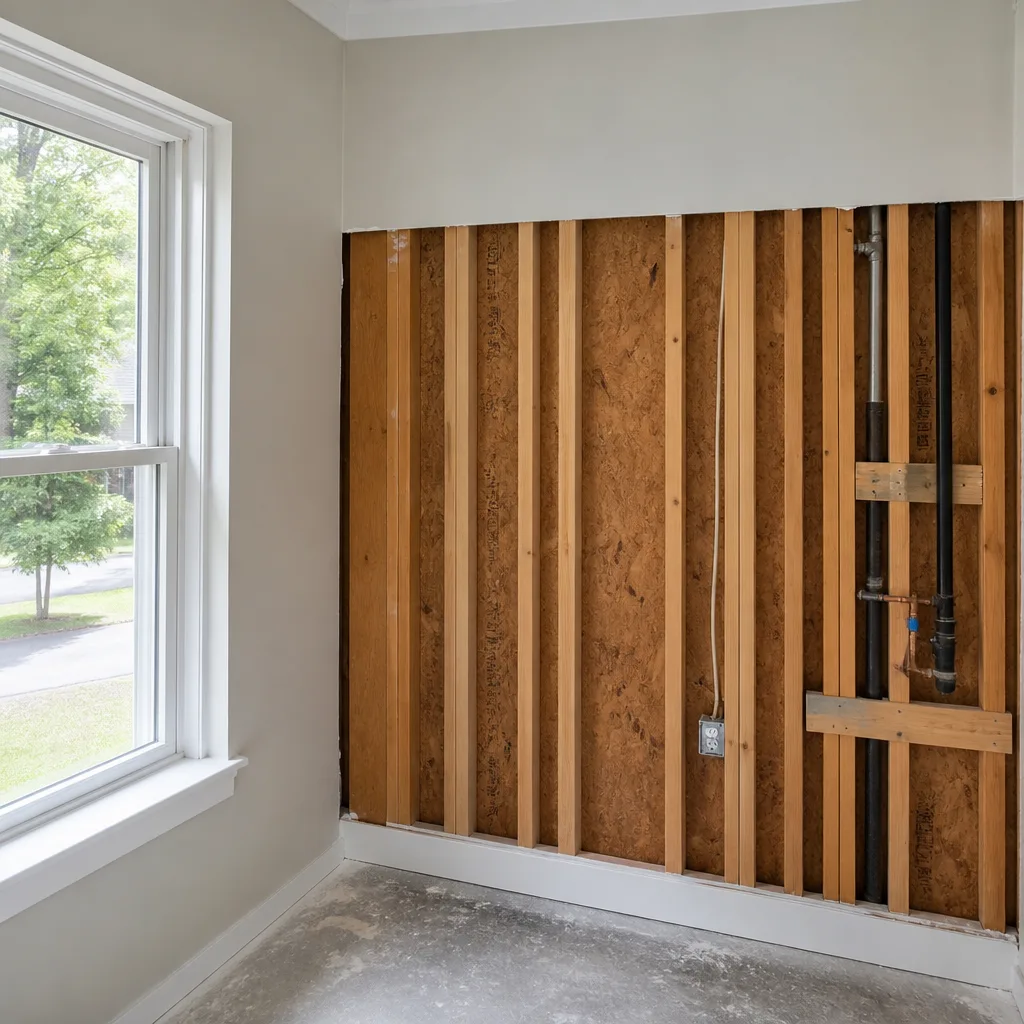
The construction stock adds another layer. Large swaths of San Jose were built between 1950 and 1985. Homes from that era typically have: plaster on gypsum lath, which holds far more water than modern drywall and dries far more slowly; 2×4 wall cavities with fiberglass batt insulation, which wicks water into the cavity and holds it against framing for weeks; and slab-on-grade foundations in many neighborhoods, which means water that reaches the floor drains into the slab edge and wicks upward through wall base plates.
Neighborhoods matter too. Homes in the flood-prone areas near Coyote Creek or Guadalupe River, including parts of Rock Springs, Alma, and Naglee Park, face higher Category 2 and Category 3 risk during winter storms. Homes in Willow Glen and Rose Garden with raised foundations often see subfloor saturation that hides for months because the crawlspace keeps the moisture below line of sight. Cambrian and Almaden Valley homes built in the 1960s and 1970s frequently have copper supply lines that have reached the end of their service life, which is why pinhole leak calls in those neighborhoods are common year-round.
San Jose code also matters if you’re doing your own demolition. Any repair involving drywall, insulation, or structural framing requires a building permit if the work exceeds the thresholds in California Residential Code Section R105.2. A water damage repair that involves replacing a single wall cavity’s drywall does not typically require a permit. Replacing an entire wall assembly or any structural element does. The distinction matters because unpermitted work can complicate resale disclosures, and if an insurance claim is involved, the adjuster may ask who performed the work and under what approval.
For homeowners who want more background before deciding, our Water Damage Restoration in San Jose guide covers the full professional process from first call to final walkthrough, and the Wendell Restoration San Jose home page explains our specific approach to transparent pricing and photo documentation.
Common Mistakes to Avoid
- Treating all water as equal. A Category 1 supply-line leak and a Category 3 sewage backup require fundamentally different responses. Using the same cleanup method for both is how families get exposed to pathogens. Know the category before you touch anything.
- Trusting the “surface dry” test. Your hand is not a moisture meter. Drywall can feel bone-dry while holding 20% moisture inside the gypsum core. If you can’t measure, you can’t confirm.
- Running a dehumidifier without air movement. A dehumidifier removes moisture from air. But water trapped in materials needs air movement across the surface to evaporate into that air in the first place. Dehumidifier without air movers equals very slow drying and often equals mold.
- Leaving baseboards in place. Water wicks up behind baseboards, into the drywall behind them, and into the wall cavity. Underneath the baseboard is the most common mold discovery location in San Jose homes we inspect. Pull the baseboards if water touched the wall.
- Waiting to see what happens. The 72-hour mold germination window is real. If materials are still wet at day three, the biological process has started. Calling a professional at day five is already a mold remediation job, not a drying job.
- Filing a claim without documentation. If you self-mitigate and later need to file a mold claim, your documentation determines the outcome. No documentation means the adjuster assumes improper mitigation and writes the denial.
- Using a shop vac and calling it extraction. A shop vac removes surface water but leaves the water that has migrated into porous materials. Professional extraction uses weighted extraction tools and controlled vacuum pressure to pull water from carpet, pad, and subfloor. The water you can see is usually less than half the water that’s there.
When to Call a Professional
Call a professional when any of these conditions apply: the water is Category 2 or 3, the affected area exceeds roughly 10 square feet, water has contacted drywall, insulation, subfloor, or cabinetry, the water has been present for more than 48 hours, you smell a musty odor, you can see visible mold, the event involves a sewage backup or storm flooding, or you have any doubt about the moisture content of structural materials after your own drying attempt. If you’re anywhere near these boundaries, the cost of a professional assessment is trivial compared to the cost of being wrong. Mold Remediation in San Jose is where events end up when the drying boundary was crossed. Wendell Restoration San Jose offers free estimates in San Jose, and our Water Damage Repair in San Jose team documents every repair with the same IICRC S500 standards described in this guide. Call (669) 200-0453.
See the difference
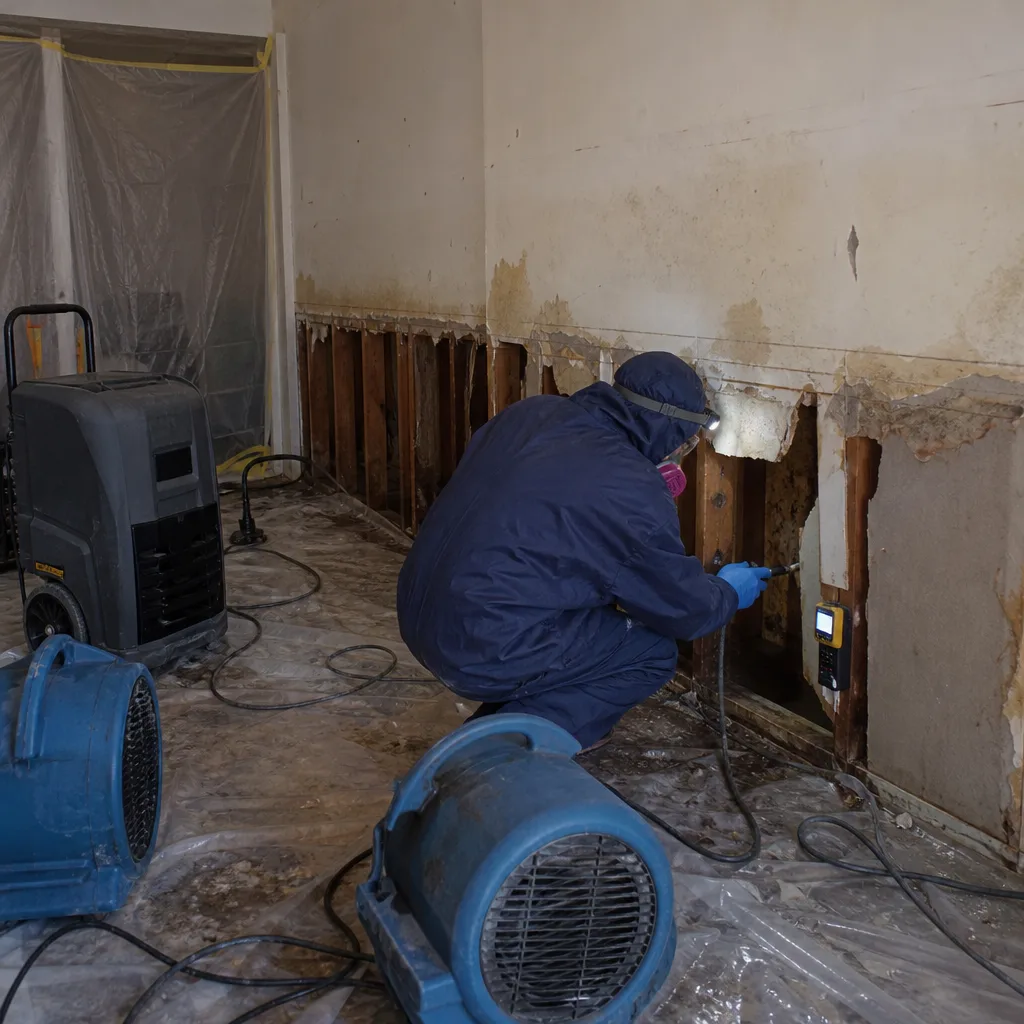 Before
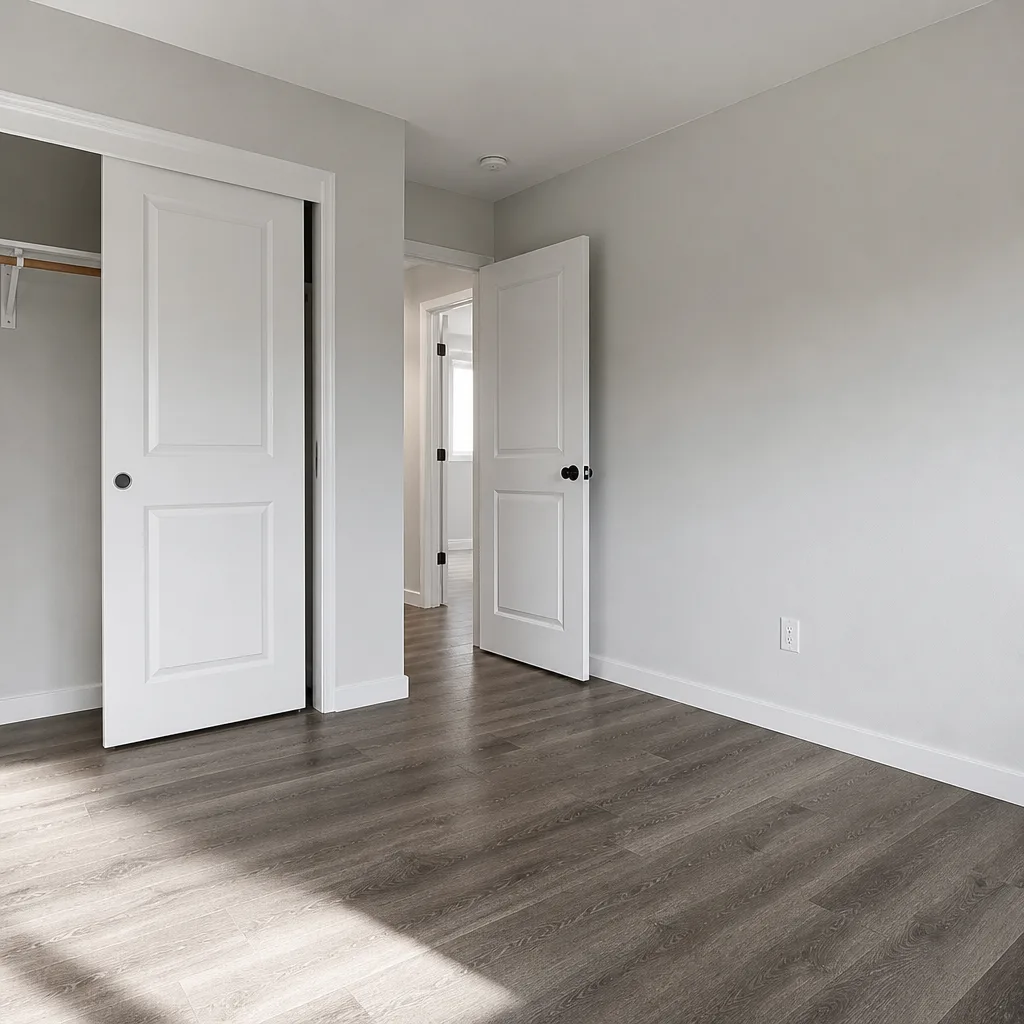 After
After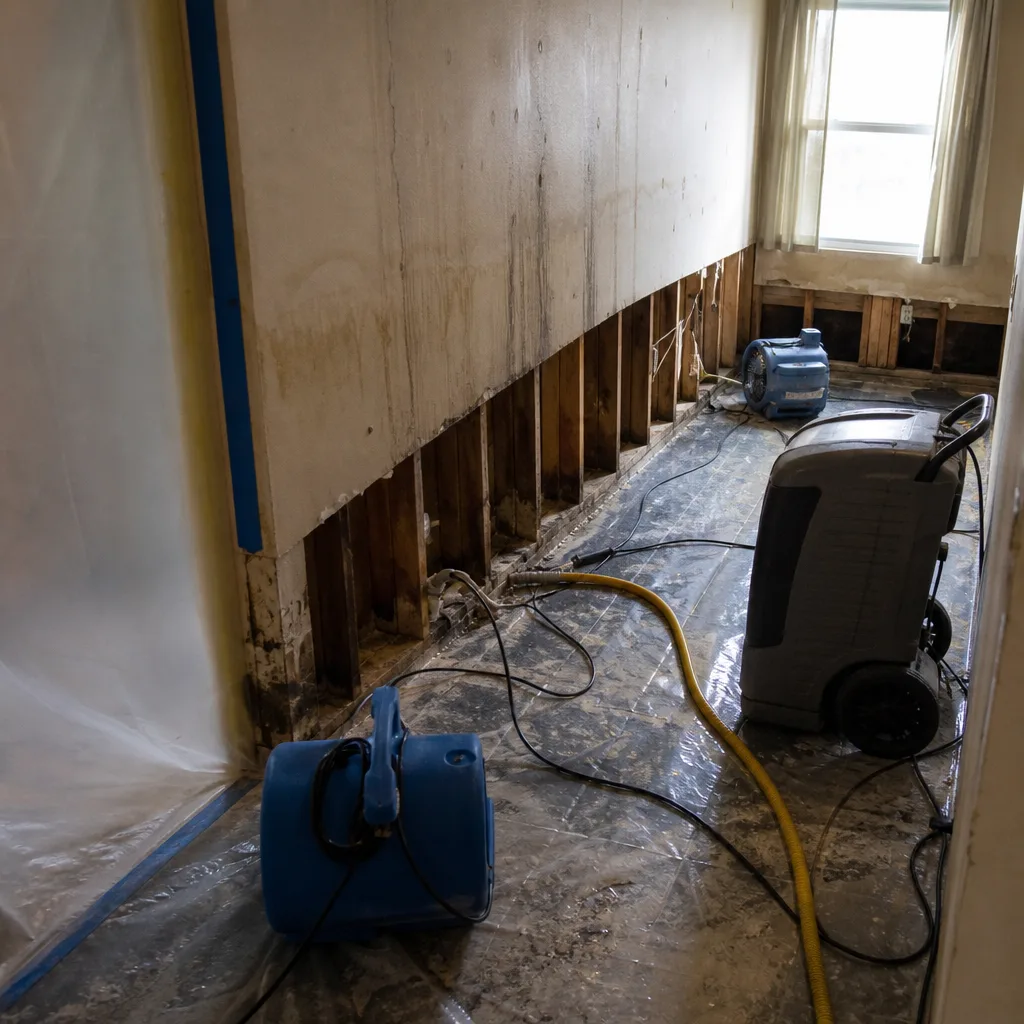 Before
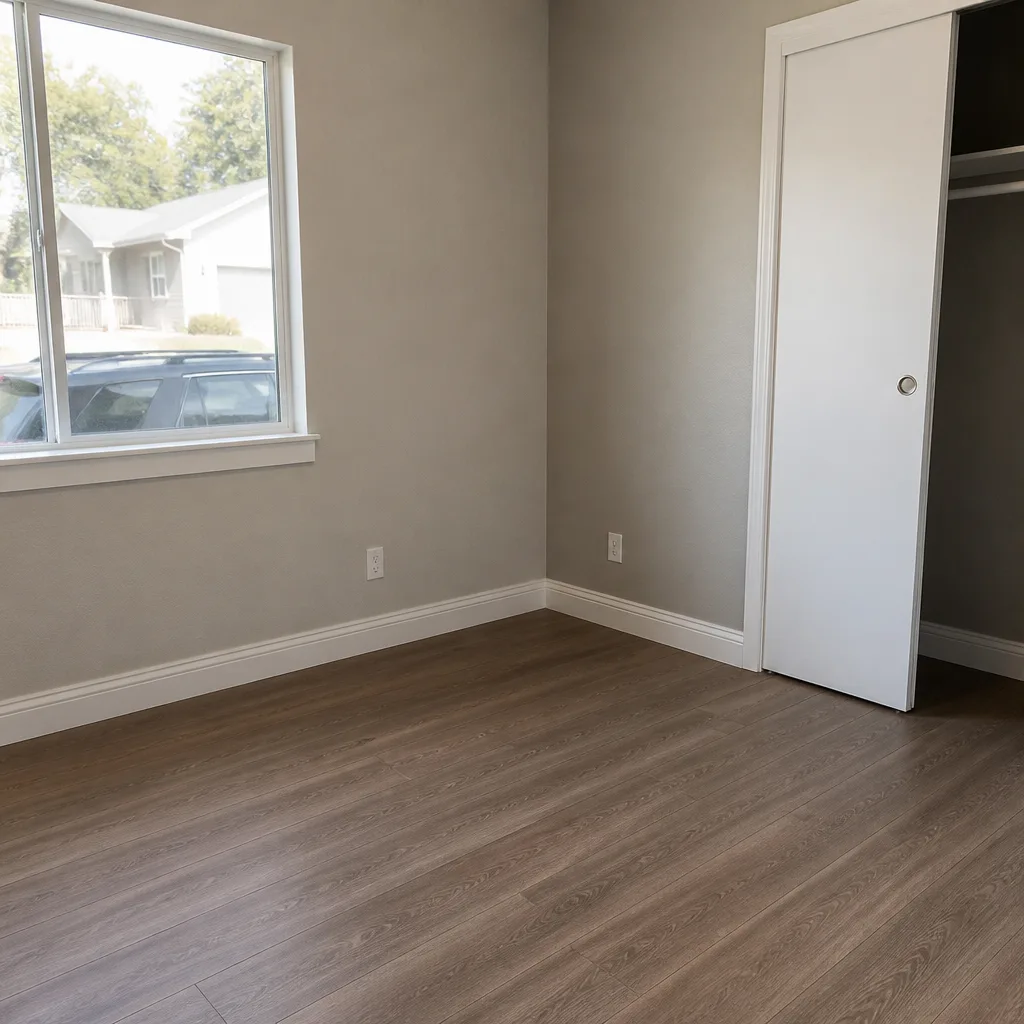 After
After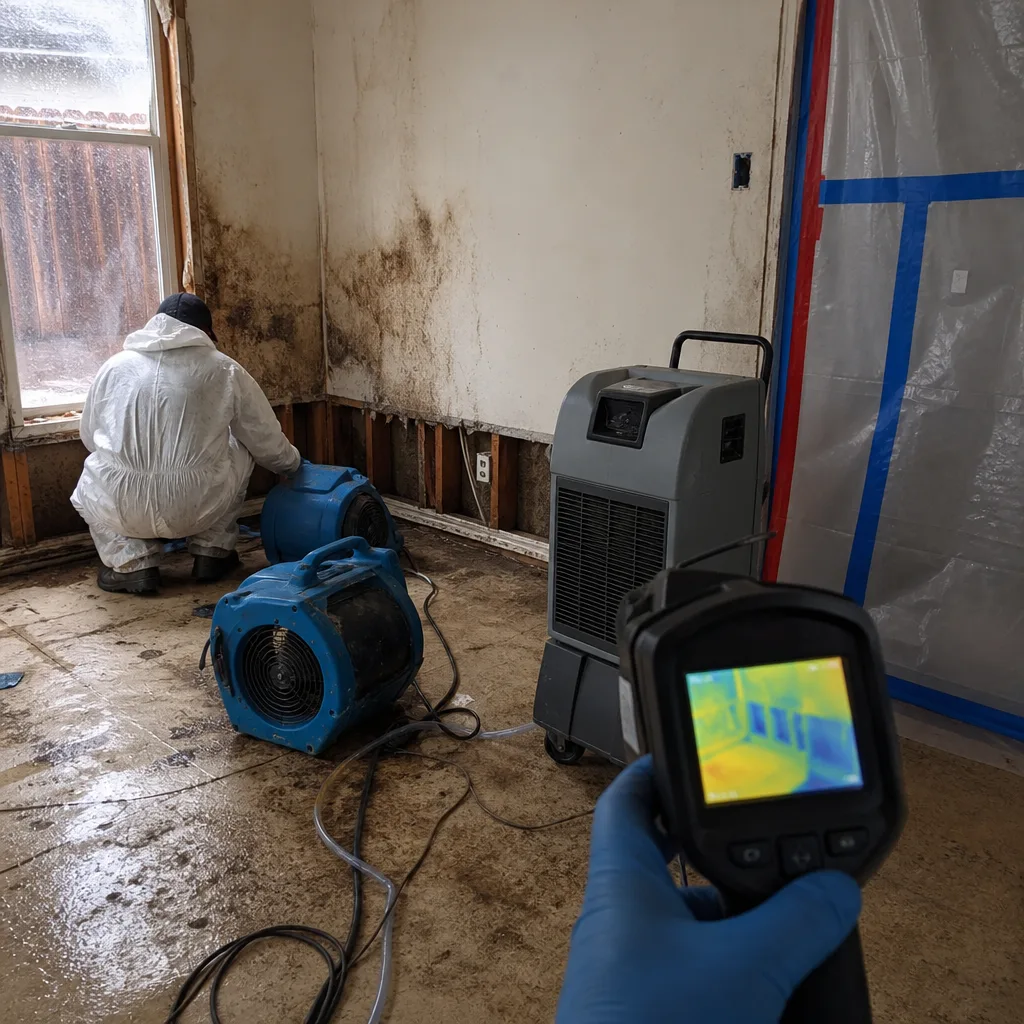 Before
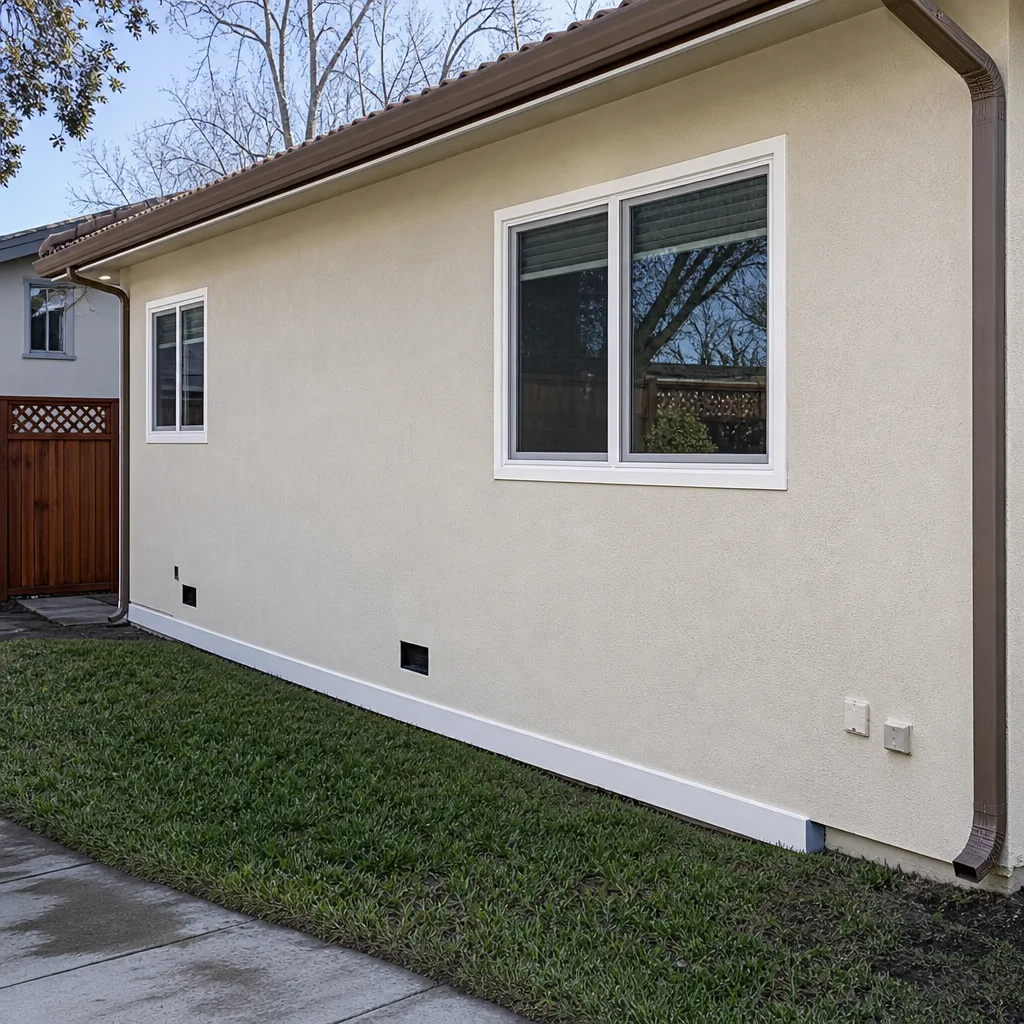 After
AfterFrequently Asked Questions
Yes, if the event meets all four defensible criteria: under roughly 10 square feet of affected area, Category 1 clean water that hasn’t sat for more than 48 hours, no structural or porous materials saturated, and verifiable drying within 48 hours using a moisture meter. Most water events in San Jose homes fail at least one of these tests, which is why professional restoration is the default recommendation for anything beyond a small clean-water spill on a non-porous floor.
Professional water damage restoration in San Jose typically ranges from $2,000 to $5,000 for a moderate water event affecting 200 square feet or less. Larger events with multiple rooms, structural drying, and reconstruction run $6,000 to $15,000 or more. Mold remediation that follows improper DIY drying typically adds $4,000 to $8,000. The most accurate way to understand your specific cost is to call (669) 200-0453 for a written estimate before any work starts, which is exactly how we operate.
Insurance carriers in California expect prompt professional mitigation as a condition of full coverage, especially for mold-related claims. A DIY drying attempt with no documentation can lead to claim denial or reduction on the grounds that improper initial mitigation caused secondary damage. If you do self-mitigate, keep IICRC S500-standard moisture logs, photographs, and equipment records to preserve your claim position.
Mold germination begins when porous materials remain wet for 48 to 72 hours, and San Jose’s winter humidity and cool temperatures can extend the wet-drying window beyond what homeowners expect. In summer, the low ambient humidity can dry a surface quickly while leaving the interior of walls wet, creating the deceptive “surface dry” condition. The safest rule is to assume mold pressure begins at hour 48 and act accordingly.
Consumer dehumidifiers remove 20 to 40 pints of water per day and stop working effectively below 50% relative humidity. Commercial LGR units remove 130 to 220 pints per day and continue pulling moisture down to 25% relative humidity, which is the range where structural materials actually release trapped water. The difference is measurable in grain-per-pound of air, and it’s the difference between a room drying in two days and drying in two weeks.
Yes. Without moisture readings, “dry” is a guess. Moisture meters cost $40 to $200 at hardware stores and tell you the moisture content inside materials, not just on the surface. Record readings every 12 hours until materials return to pre-loss levels, typically 6% to 10% for drywood in San Jose. The meter is the difference between documentation and a denied claim, and between dry and moldy.
The Bottom Line
DIY restoration is not a skill question. It’s a liability question. The four defensible scenarios are narrow, the equipment performance gap is real and measurable, the insurance language is stacked against undocumented self-mitigation, and the probability-weighted cost of failure exceeds the professional quote in most cases. San Jose’s climate and housing stock add specific risk factors that generic advice ignores. If your event falls within the four scenarios, follow the IICRC S500 documentation practices and move carefully. If it doesn’t, the professional route is cheaper than the DIY route, once the hidden costs land. The decision is yours, but the data is clear. Call (669) 200-0453 for a free estimate in San Jose, and you’ll get a written price before any work starts.
Written by Blake Sorensen, Owner at Wendell Restoration San Jose, serving San Jose since 2006.